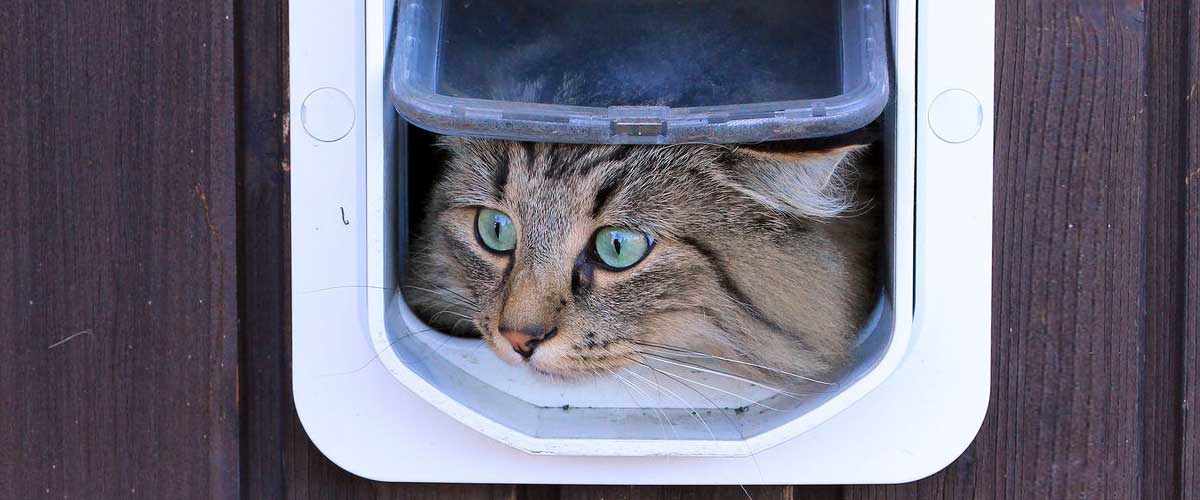
This page gives the very best advice when you are fitting a cat flap to any of our superb external doors, just make sure you have a suitable door and a cat of course!

1. Check the cat flap is suitable for the type of door or location.
2. Make sure the flap is suitable for the size of the cat.
3. Positioning the cat flap and or the template, you may want to fit your cat flap in the middle of the lower area of the door but it may not be suitable due to panel shapes, what is know as “Fielding” around a timber panel for example.
4. Use the tape measure and a pencil to mark the centre of the door or a suitable panel area and make a mark at this point. Using a ruler, draw a straight horizontal line that crosses the centre point that is now marked.
5. Place the template carefully with the bottom of the template against this pencil line which you marked earlier, be careful to make sure that you don’t mistake the cutout area as the overall size of the cat flap body.
6. Drill holes were clearly marked on the template, these holes are normally used to then insert a jig saw, remove the template, draw straight lines between each hole, place the jig saw blade through each hole in turn and cut between each hole.
7. Tidy up the newly formed aperture and test fits the cat flap for size.
8. If all previous testing is ok, place the body of the cat flap against the door and either pilot drill each of the holes or slowly screw each fixing screw in to position, if the flap is secured by bolts the holes should be drilled very slightly larger than the bolt to allow them to pass through to secure the opposite section of the flap.
9. You may be required to place an arm either side of the door while attaching the fixings, each flap may have slightly different fixings so please read the manufacturer’s instructions.
10. Test the cat flap, hopefully, you have fitted it correctly and it works first time.
Printable Version